Steps to shoot In-camera Multiple Exposures on Canon cameras
Shooting multiple exposures in camera, is a creative technique, fun and easy to learn. It allows photographers to blend several images into one final shot. Some of the Canon cameras that have the multiple exposure feature are:
Canon EOS 5D Mark IV, Canon EOS 5DS, Canon EOS 5DS R, Canon EOS 6D Mark II, Canon EOS 7D Mark II, Canon EOS 70D, Canon EOS 80D, Canon EOS 90D, Canon EOS R, Canon EOS RP, Canon EOS R5, Canon EOS R6 and Canon EOS 1DX Mark III.
Use the following steps to enable the multiple exposure feature on your Canon camera.
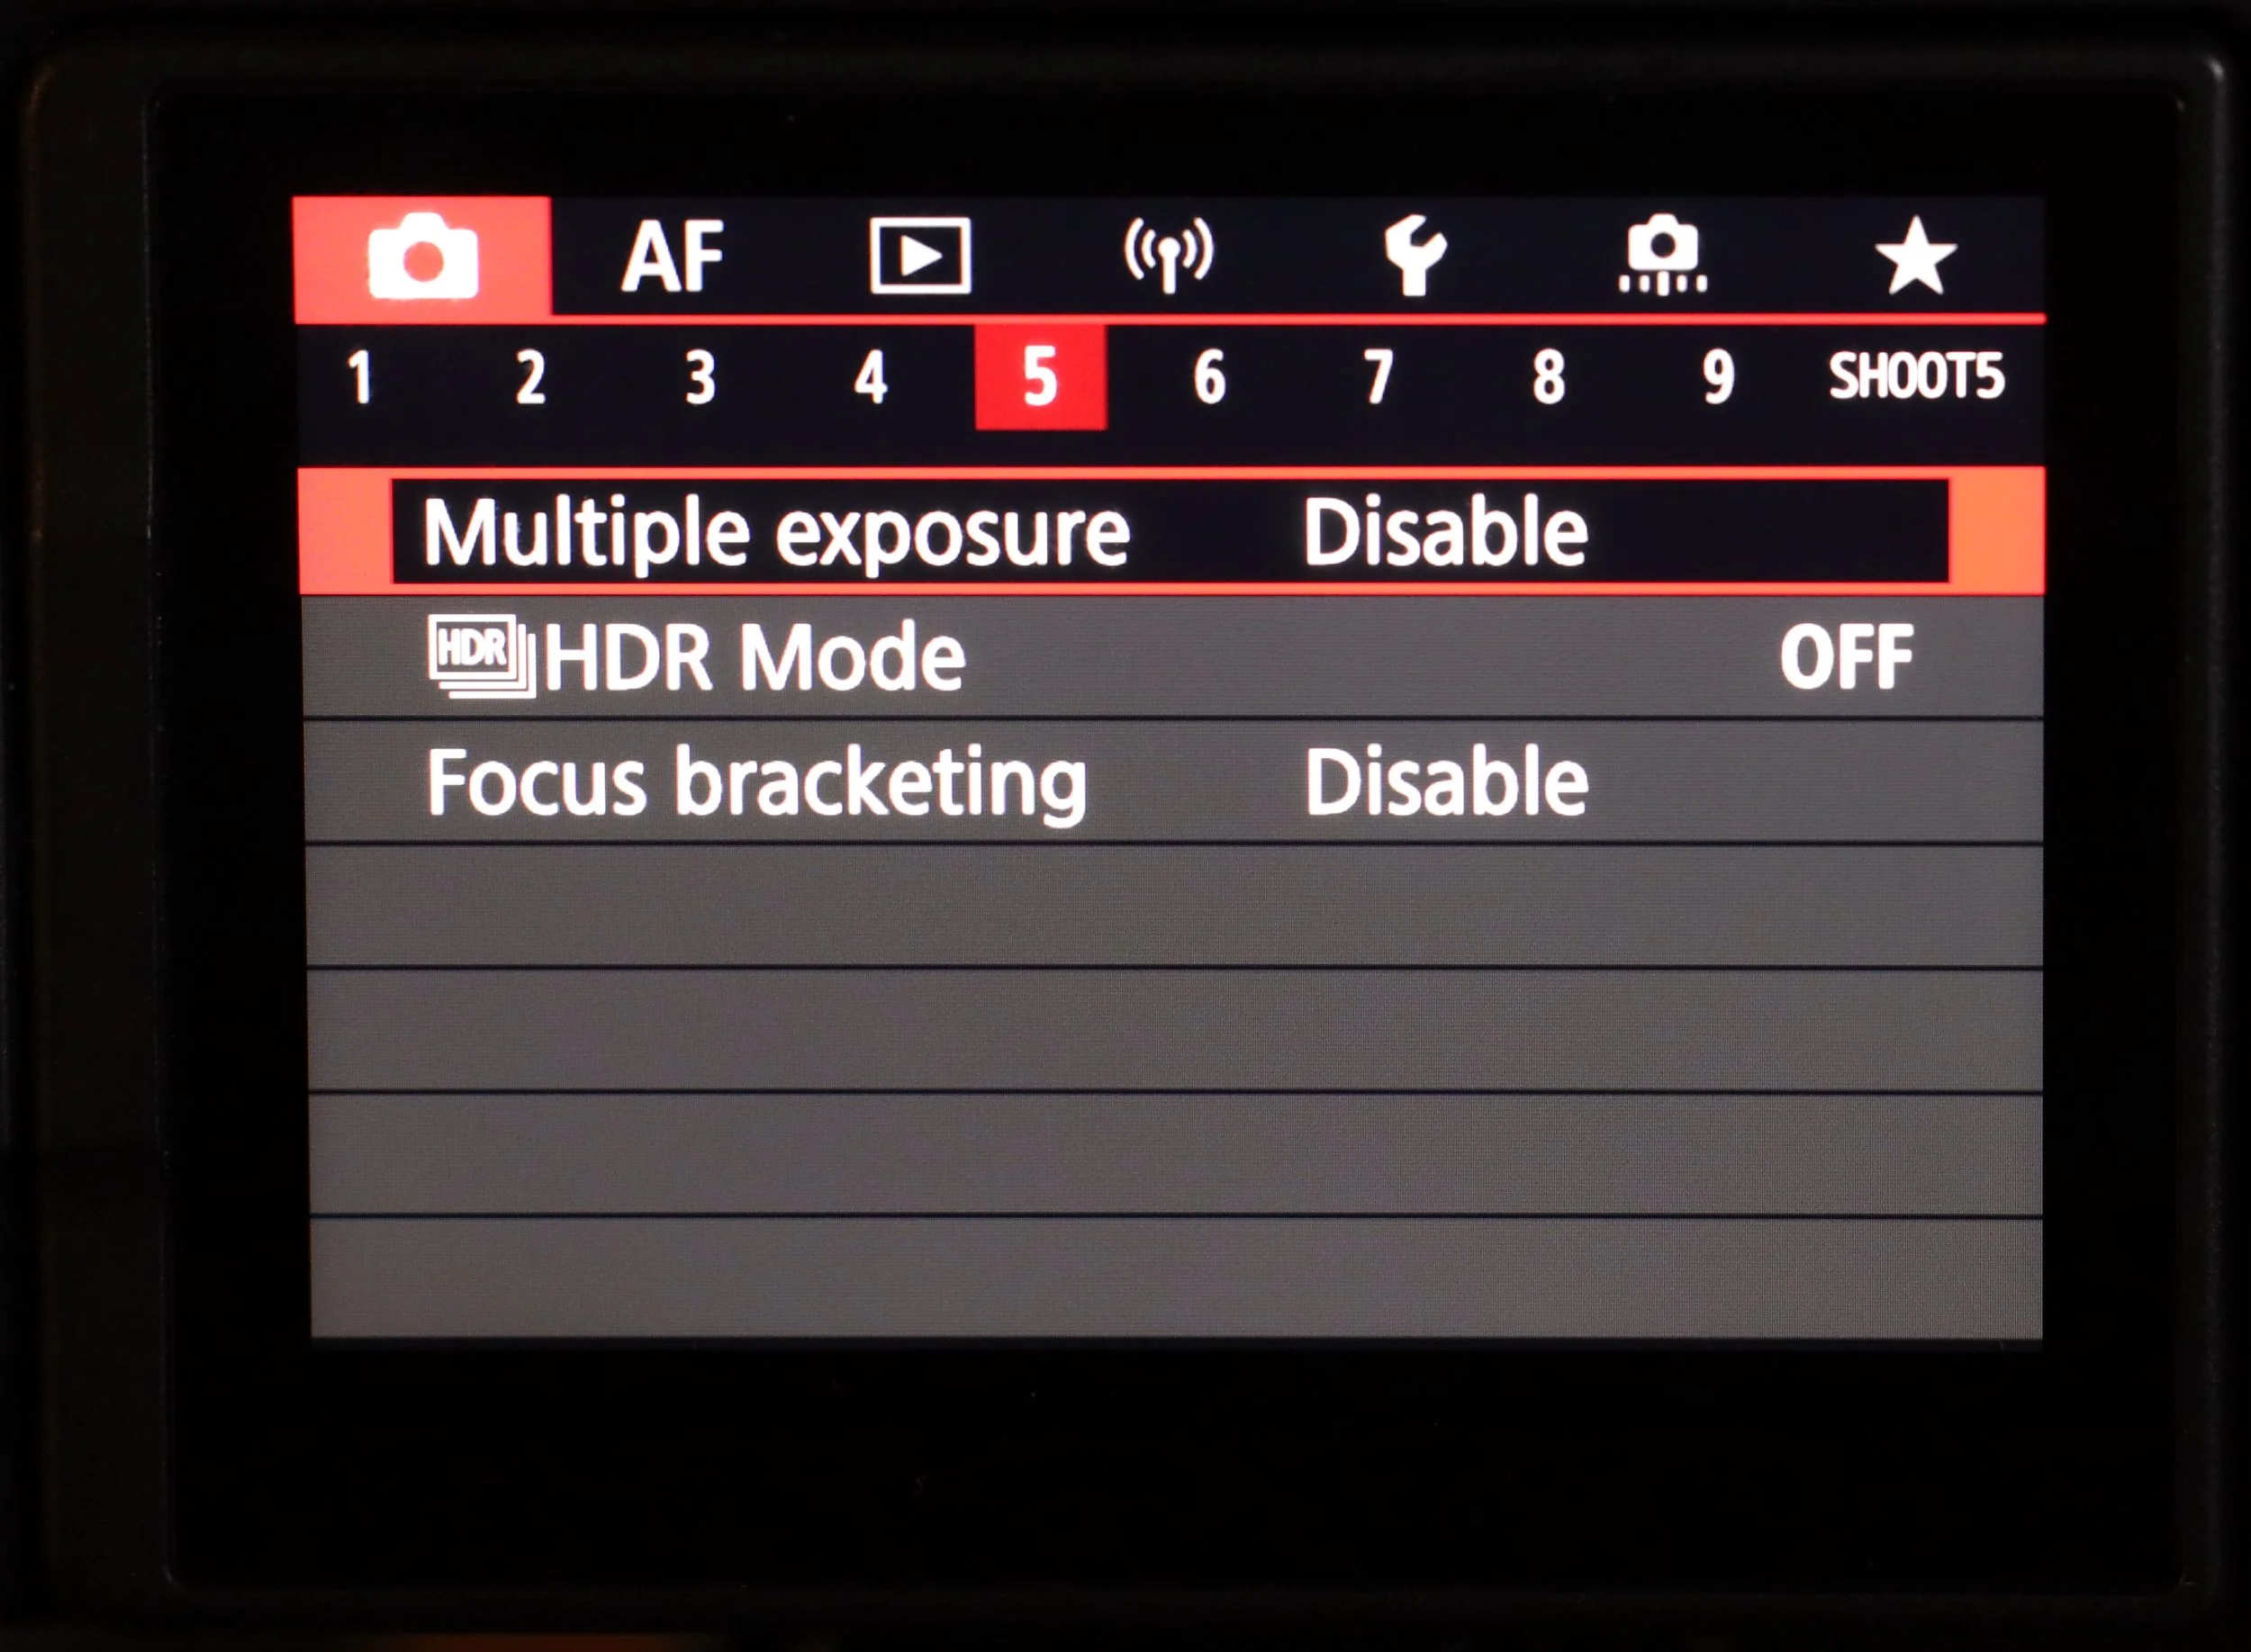
As a reminder, not all Canon cameras have the multiple exposure feature and there my be some variations on this feature from camera to camera. In general, the multiple exposure feature can be found in the red, shoot menu. For example, it is found on page 5 of the shoot menu on the Canon EOS R and R6.
Step 1: Enable Multiple Exposures
To start, you need to enable the multiple exposure feature on your Canon camera. The process of enabling this feature varies depending on the model of your camera. For example, on a Canon EOS Rebel T7, you need to go to the "Shoot Menu," select "Multiple Exposures," and then turn it on.
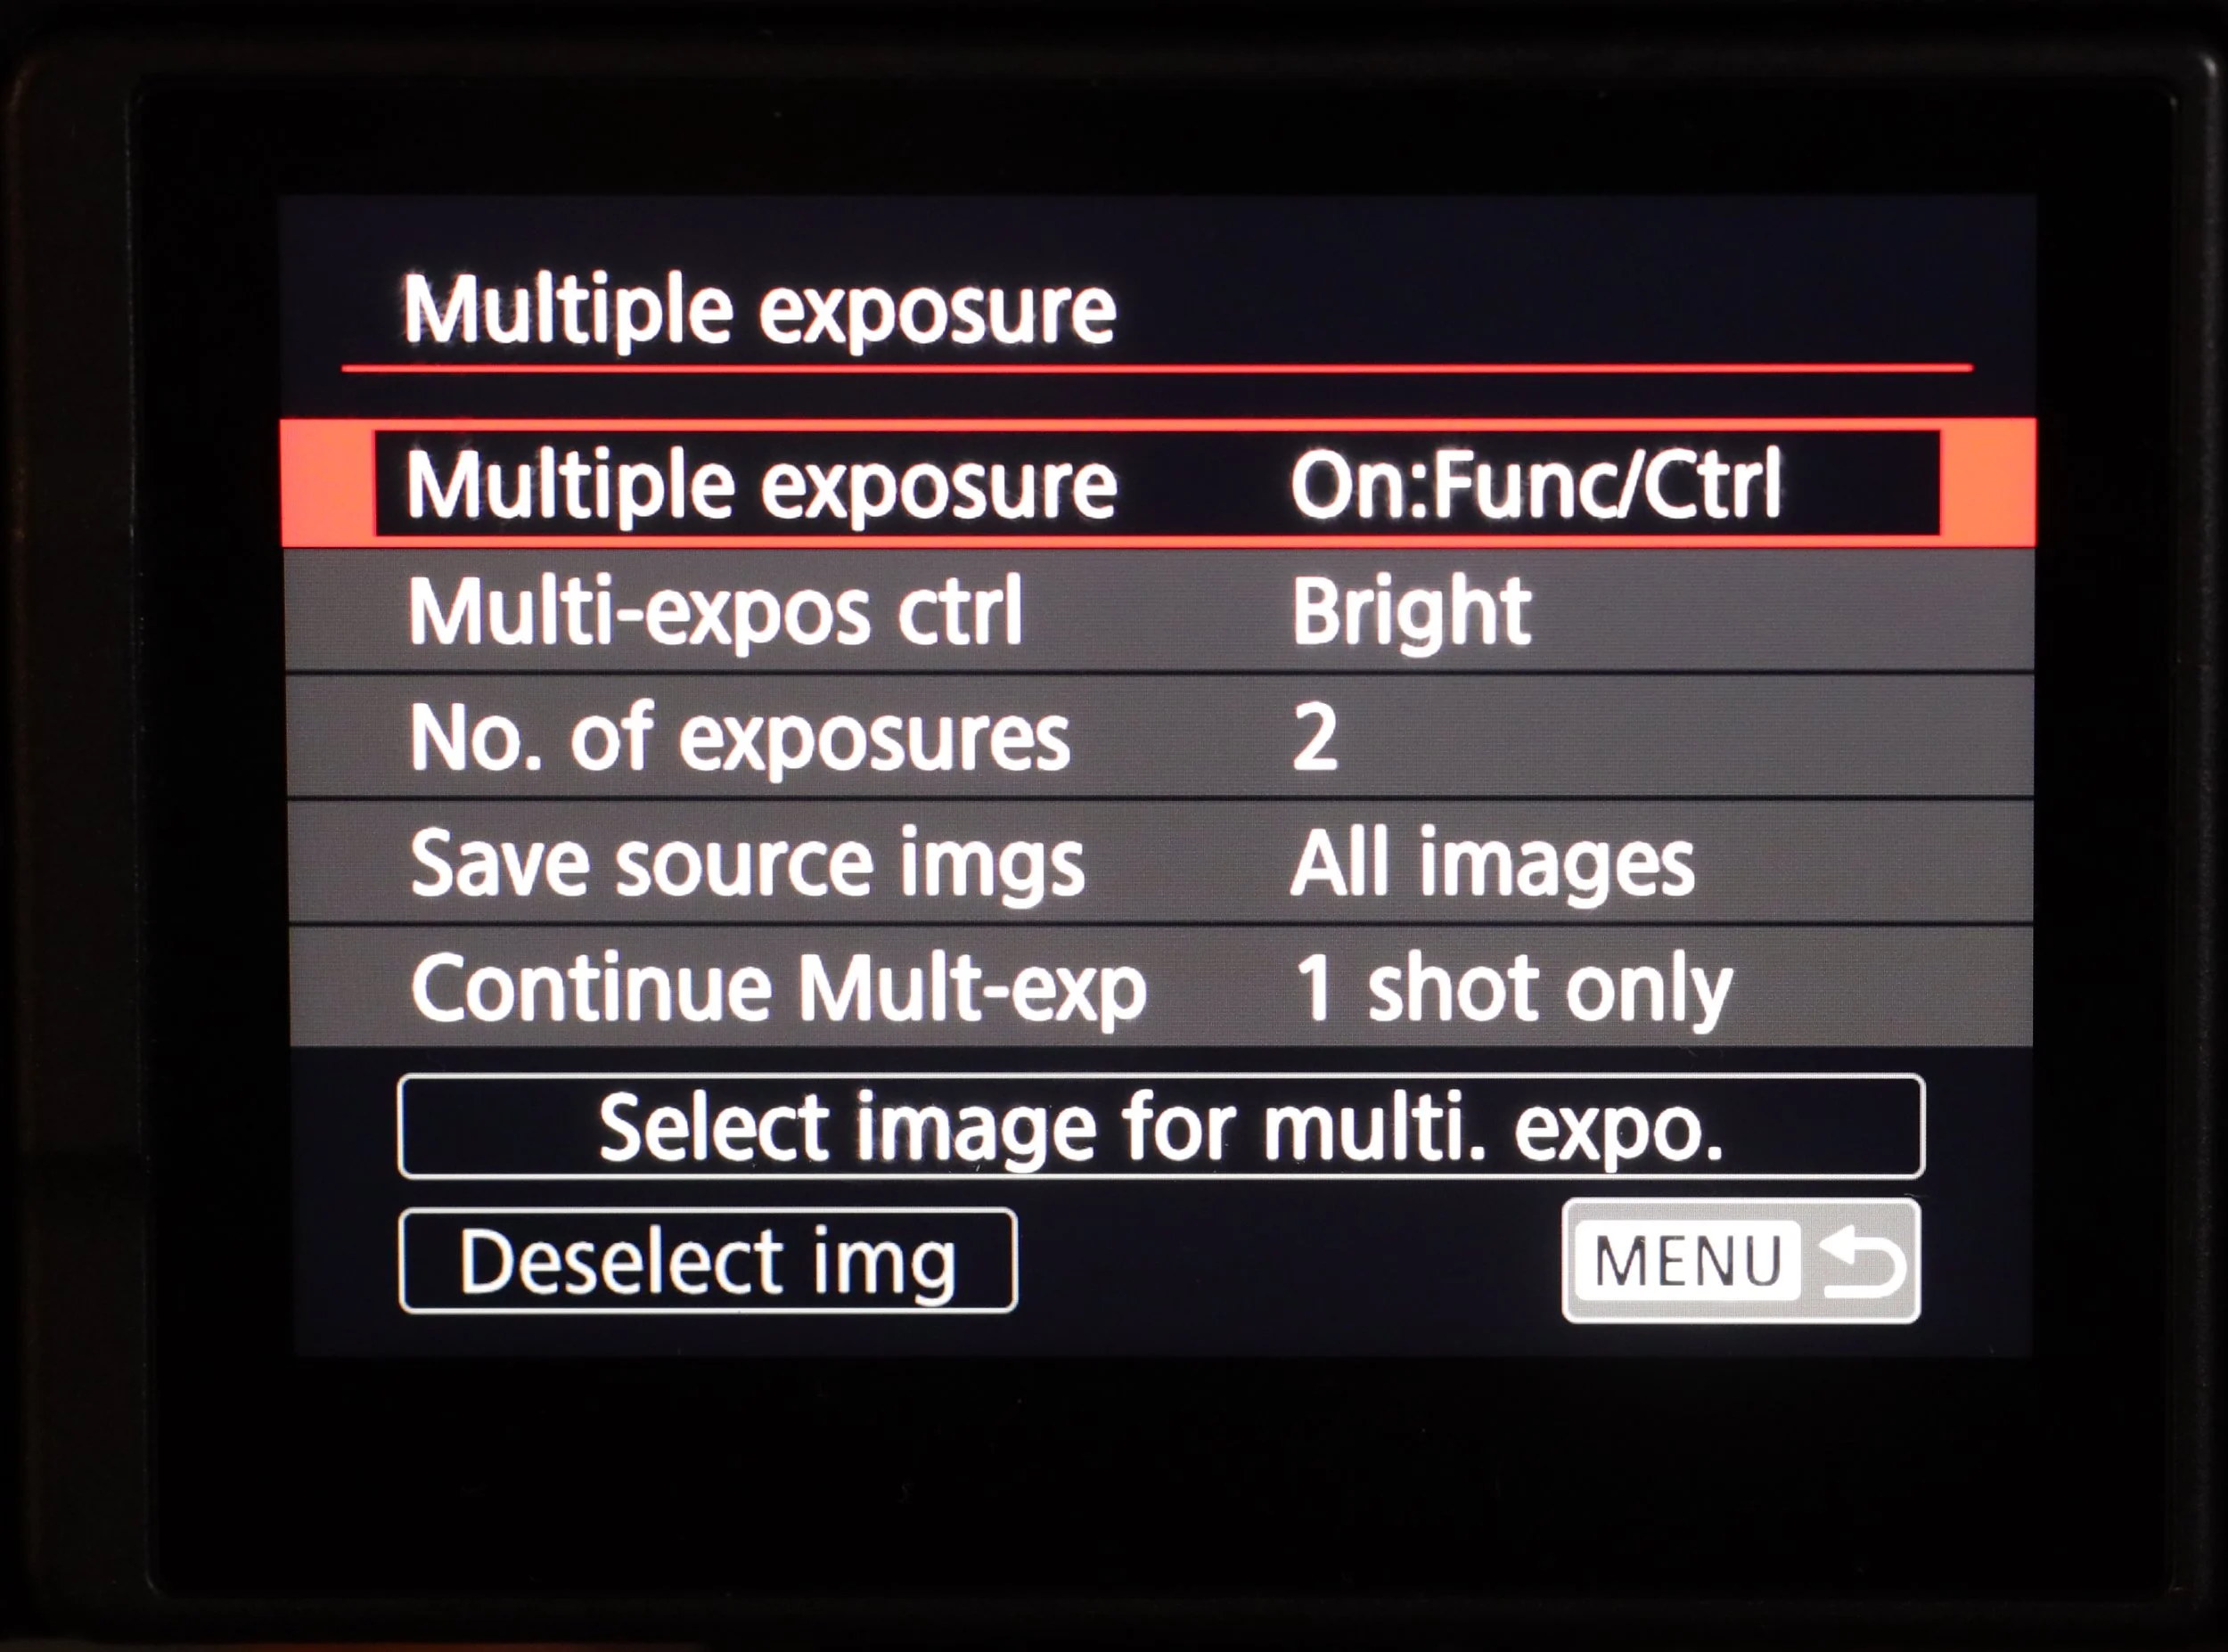
Step 2: Choose the Number of Exposures
Once you have enabled the multiple exposure feature, you can choose the number of exposures you want to shoot. This setting can range from 2 to 9 images, depending on your camera model. The number of exposures you choose will determine how many images will be blended into your final shot.
Step 3: Set the Exposure Settings
Before you start shooting, make sure your camera is set to the desired exposure settings. This includes the ISO, shutter speed, aperture, and white balance. It's best to set these parameters manually, so you have full control over the final result.
Step 4: Start Shooting
Now that you have set up your camera, you're ready to start shooting. Keep in mind that the first shot will be the base image for the multiple exposure, so choose it wisely. It does not matter if you shoot the subject as the first or the second image, it just depends on what type of feel and look you are trying to create. After you take the first shot, the camera will automatically overlay the subsequent shots on top of the first one.
Step 5: Review Your Images
After you have shot all the exposures, review your images to see the final result. If you're not satisfied with the result, you can retake the shot or adjust the settings and start again.
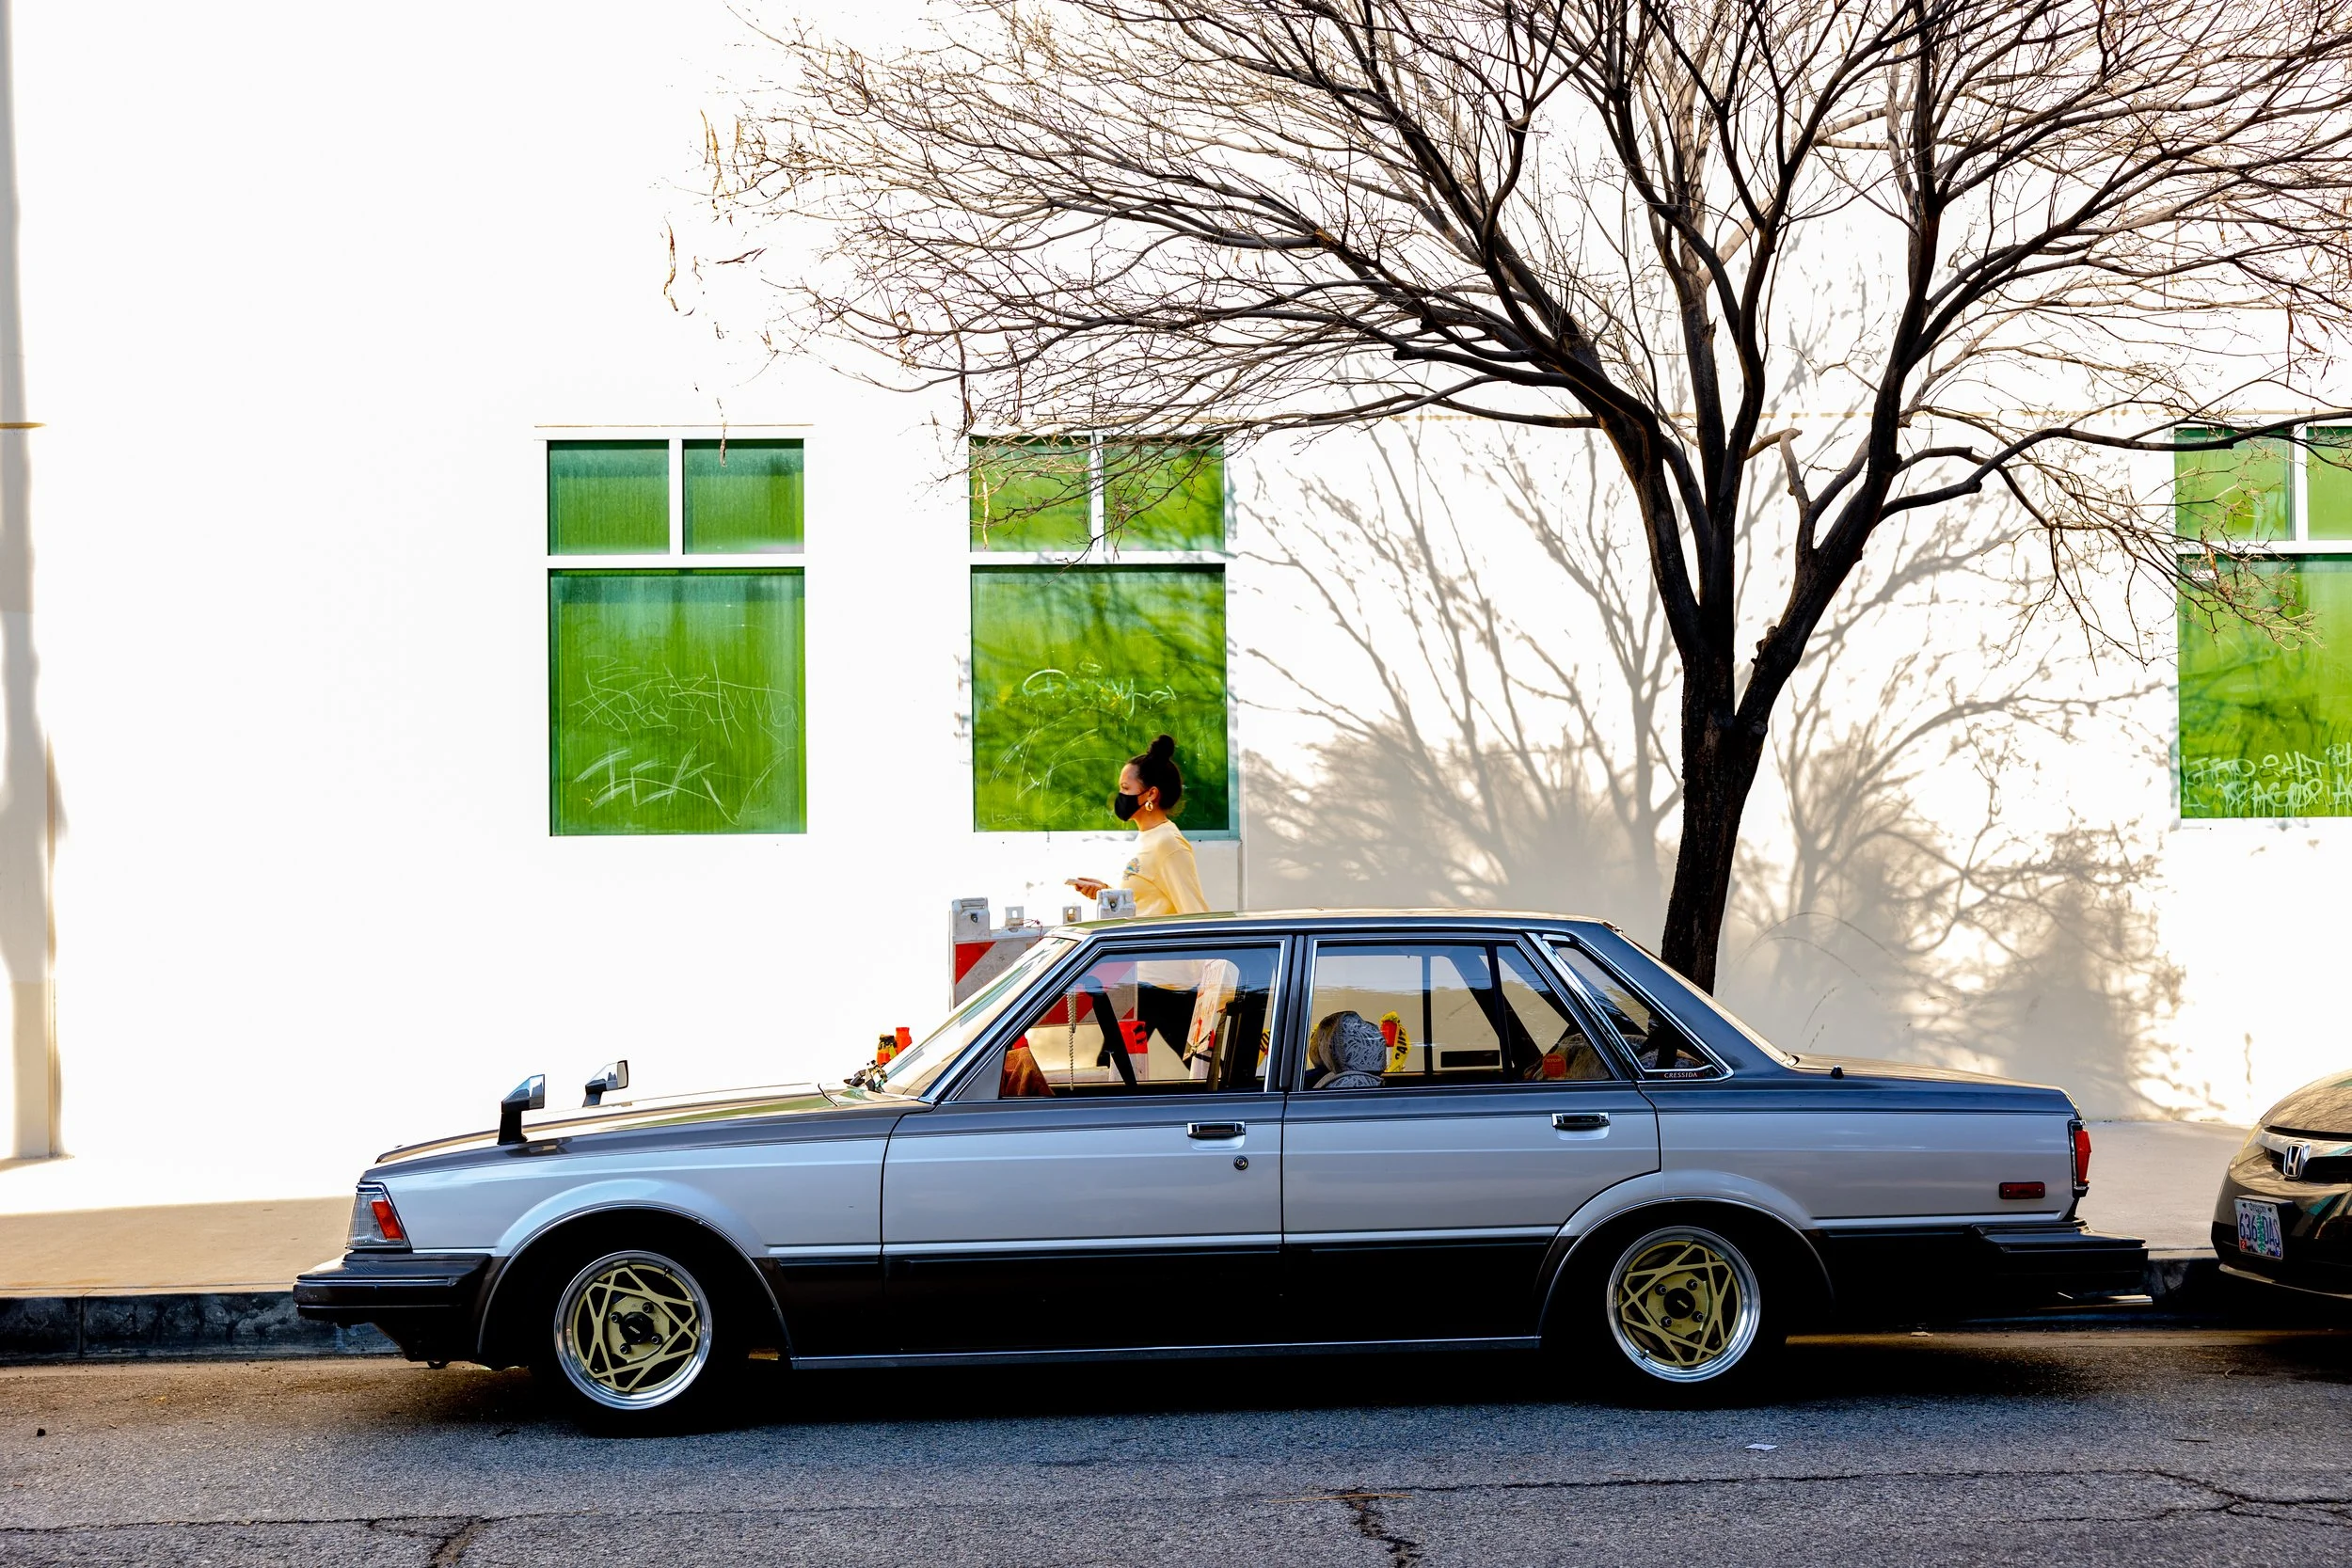
Image 1
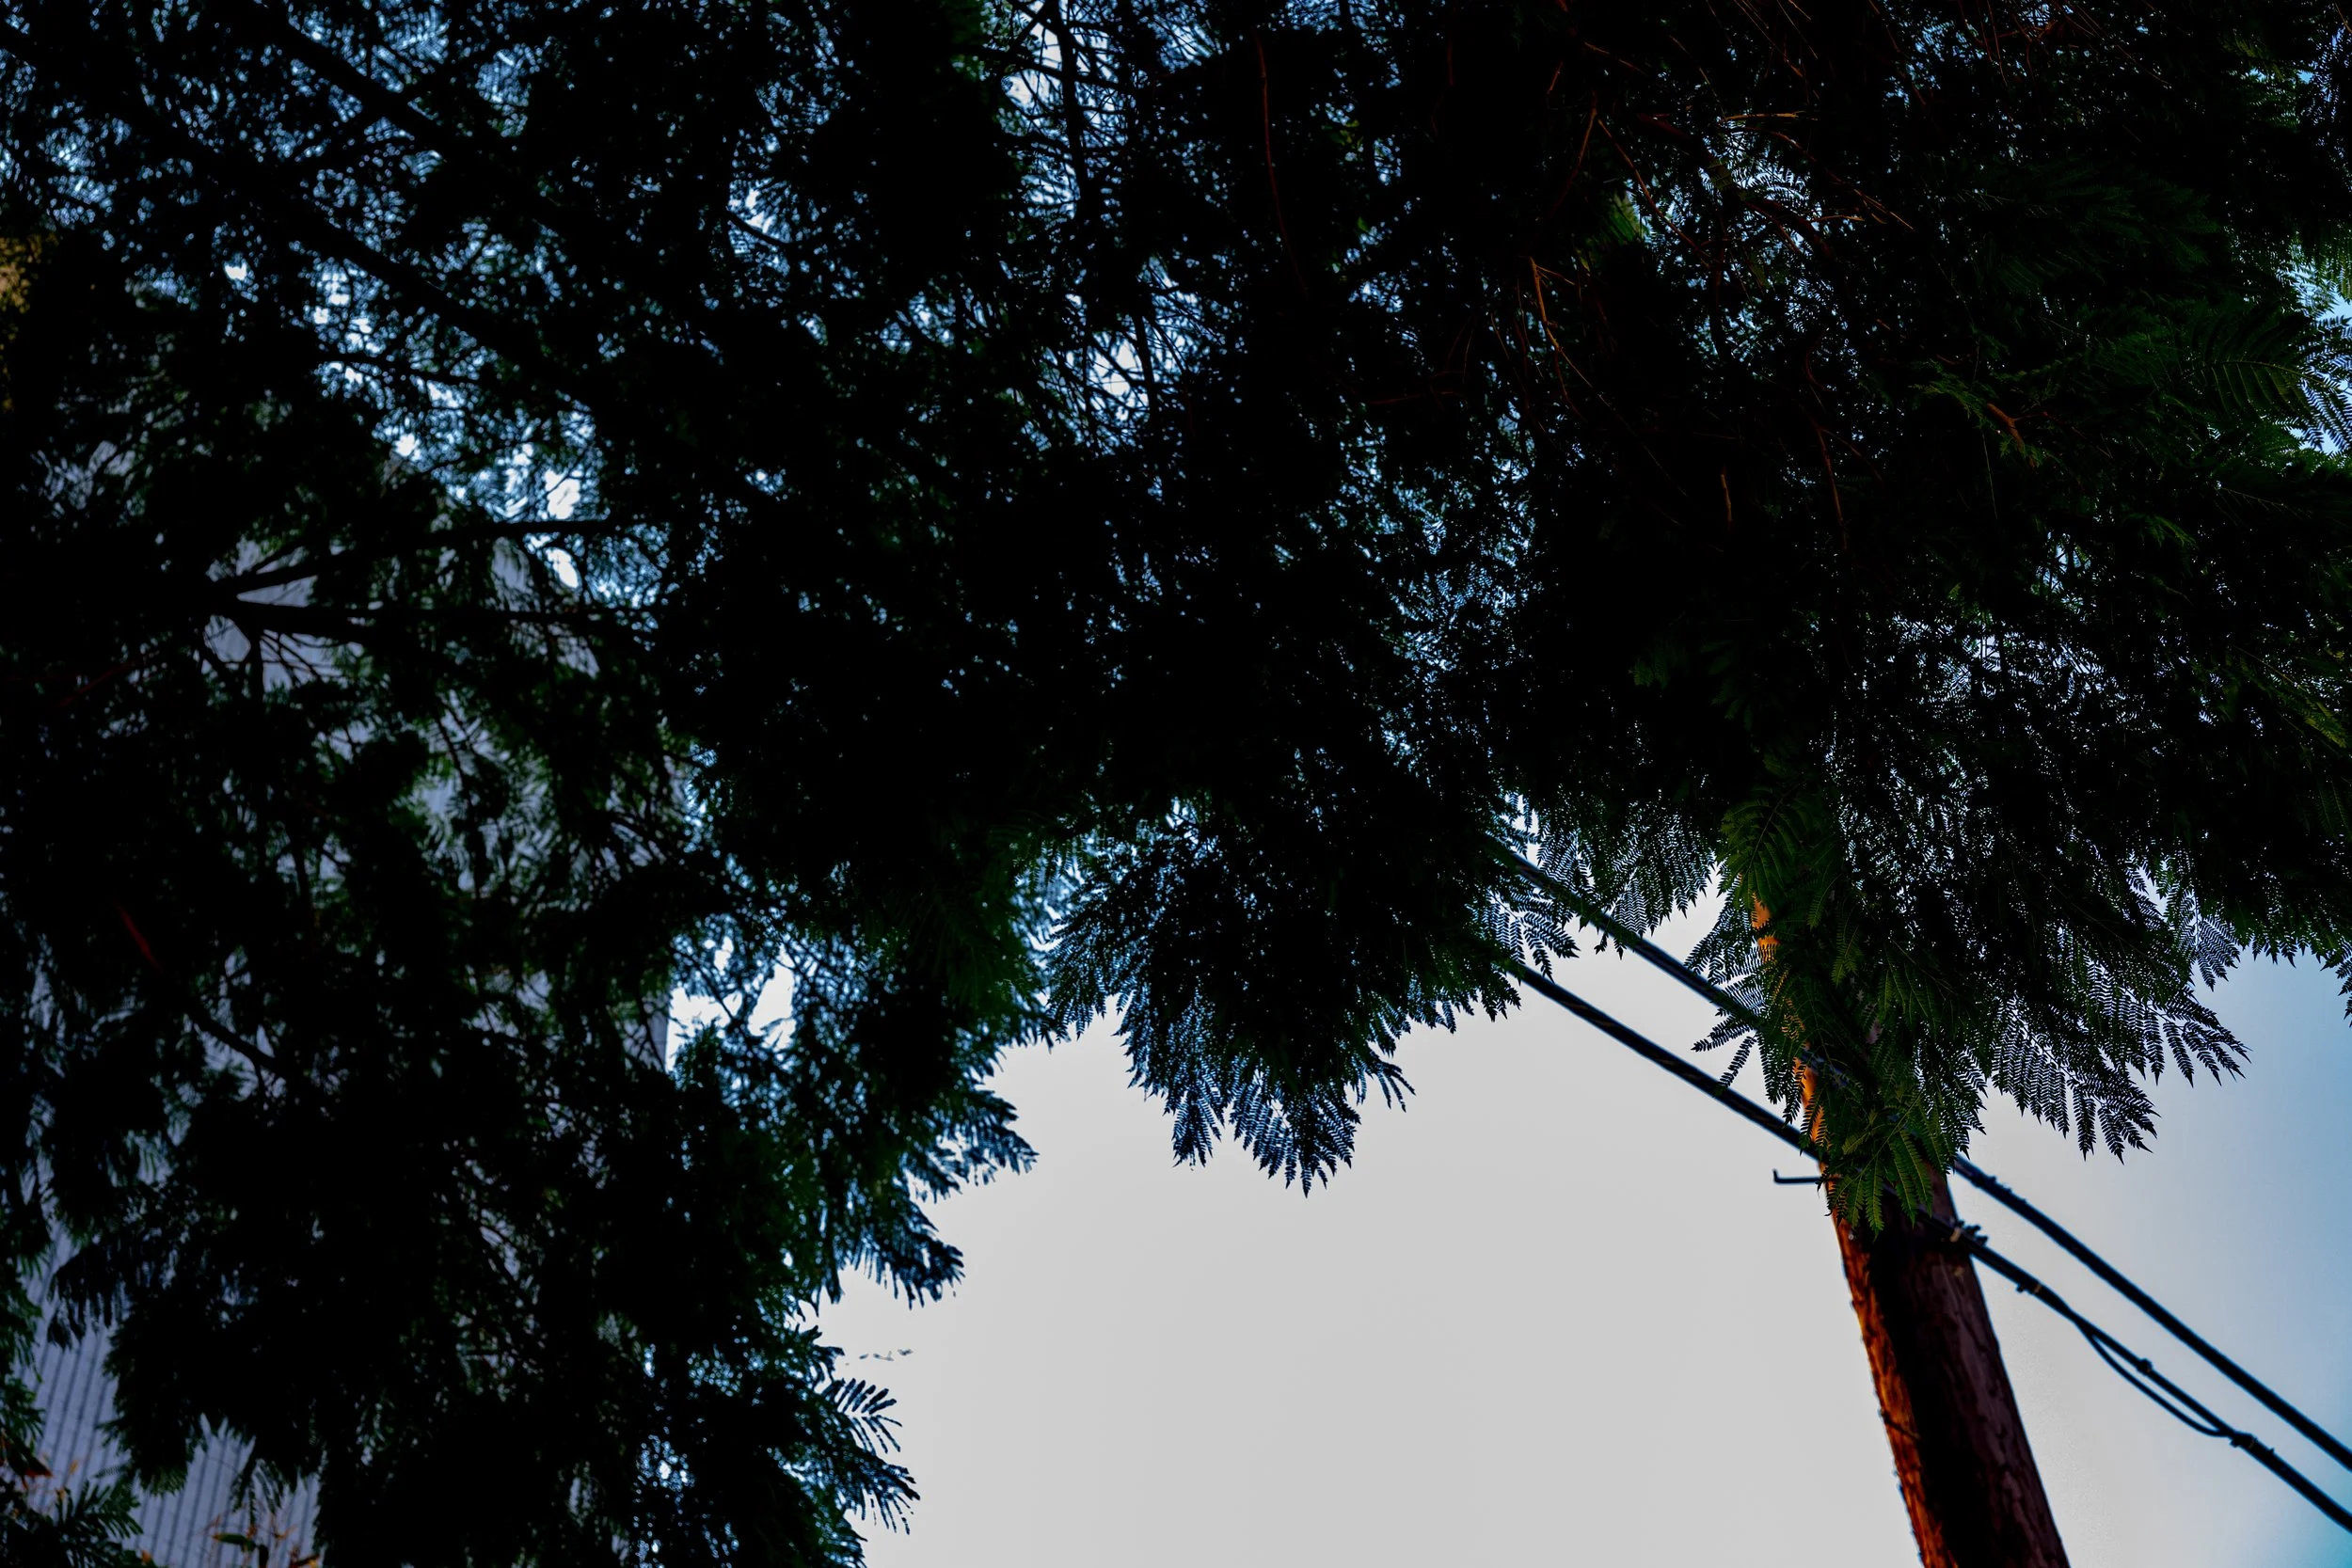
Image 2
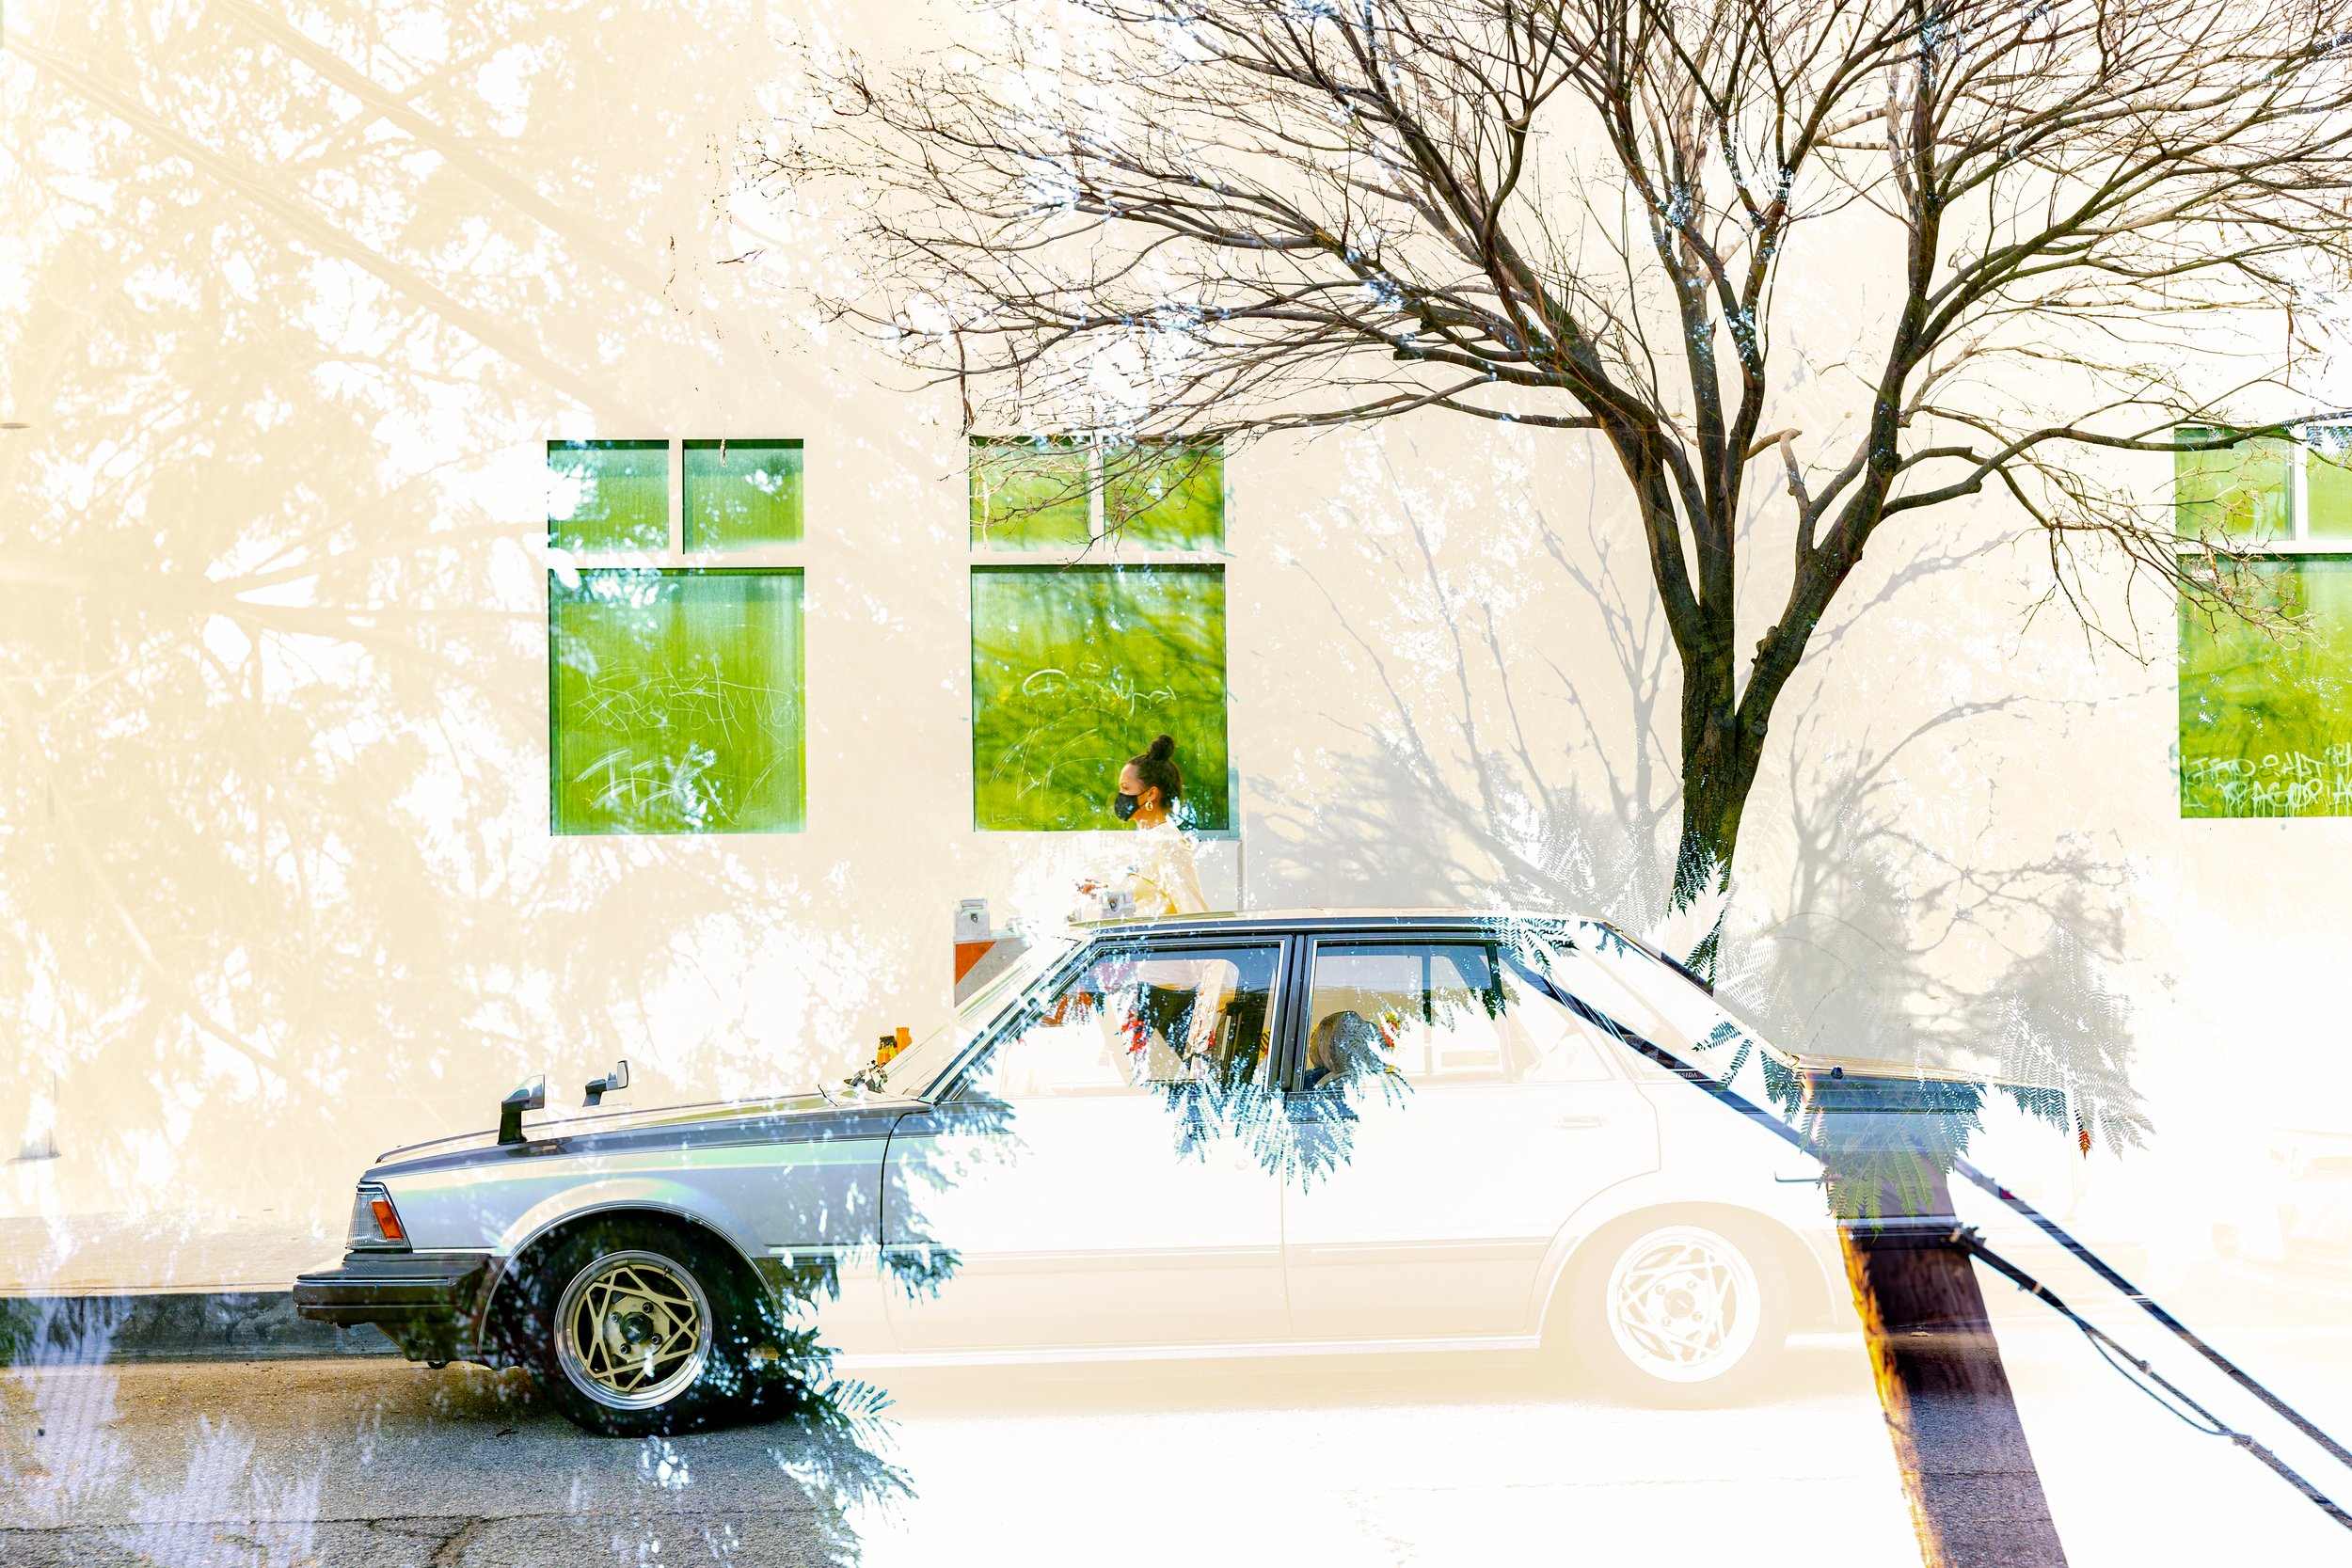
Multiple Exposure
Shooting multiple exposures on a Canon camera is a fun and creative technique that allows you to produce unique and stunning photos. Whether you're a professional photographer or a beginner, this feature is easy to use and provides endless creative possibilities. So go ahead and give it a try today!
I also have two videos that covers multiple exposures on the Canon EOS R and the Canon EOS R6.